Model 28 TTY project...Part Two - the work begins... |
 |
| This is an old teletype - I have no intention of restoring it to original appearance - it's bumps and bruises speak of a long life of service-- and I like the "character" that gives a machine. I do, however intend for it to function as a well as a new unit... and for a very long time. So the steps I'll take will be to clean and make it's appearance as nice as possible given the condition of the parts - but an even higher priority will be given to restoring the machine to function as well as a new one.
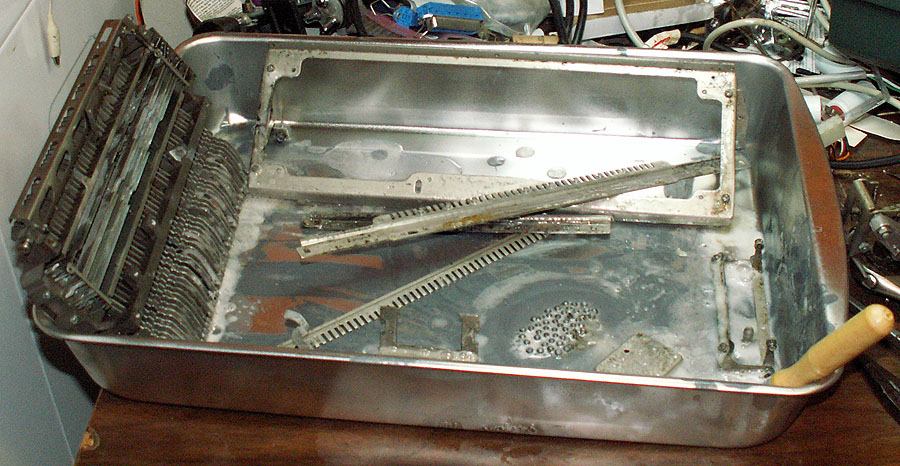
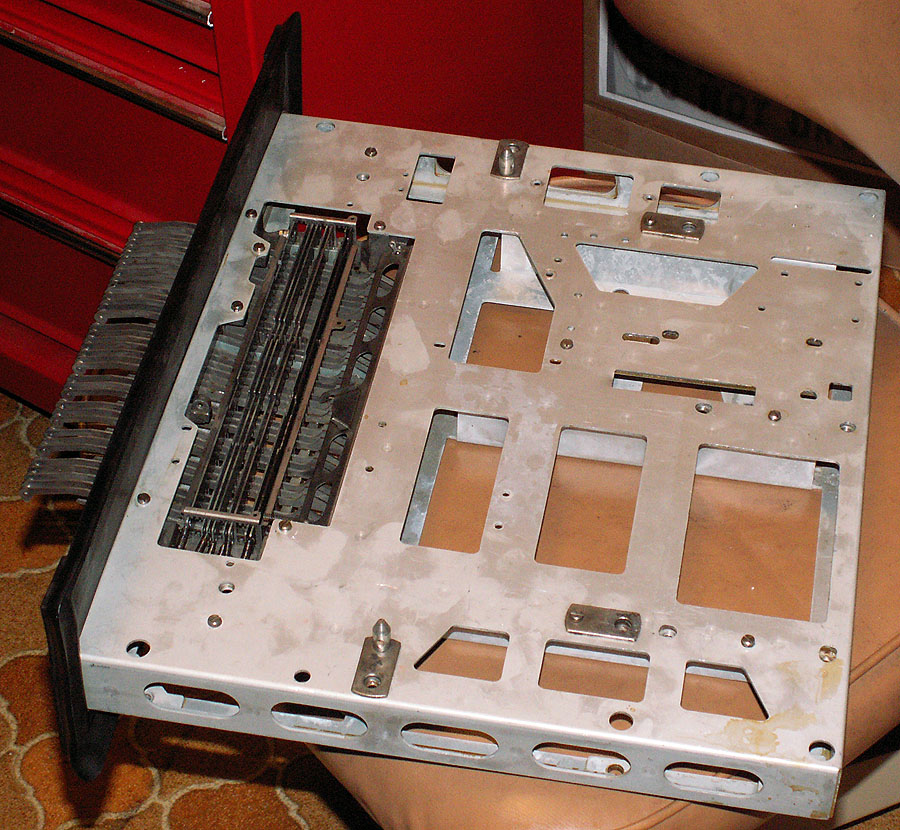
Accordingly - the first step is to arrest and clean up the rust. Since most of the processes and chemicals used are quite aggressive, it's my opinion that it's best to treat the individual pieces - giving each the type and level of treatment needed depending on it's function and visibility in the finished product; and considering the amount of rust, etc. The chassis above is just out of the dishwasher - being aluminum it needs little in rust / corrosion work. An interesting point was discovered here - note carefully the cut-out and mounting holes for the motor. While done very neatly - it's obviously hand-crafted. This indicates that this chassis was originally equipped with the old-style motor - which had the start-cap on top - and start switch, etc. on the end. The hole has been enlarged - and screw holes relocated to accomodate the modern type motor which has associated components inside a small subchassis under the motor. Not visible in this picture are some additional changes under the chassis where the intermediate gear assembly mounts. |
 |
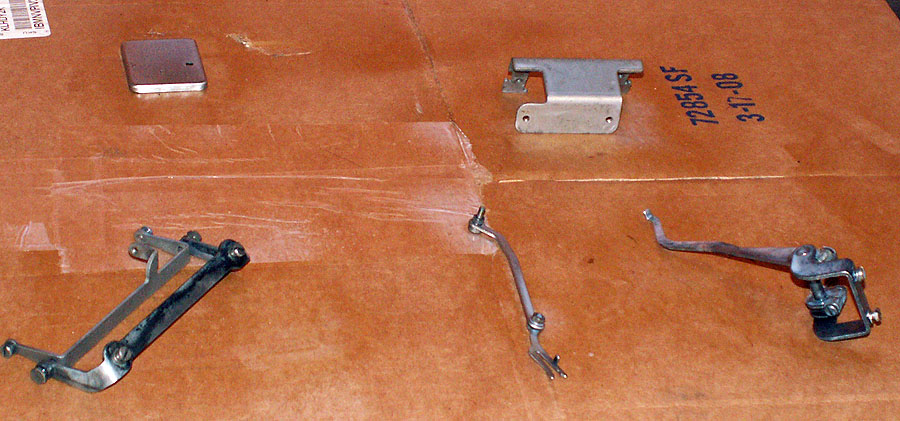
| Here- several of the most heavily rusted items are being treated with Naval Jelly. They will be further cleaned, wire-wheeled, and then have a coating applied to inhibit rust in the future. Items that are only lightly rusted will just be wire-wheeled. |
 |
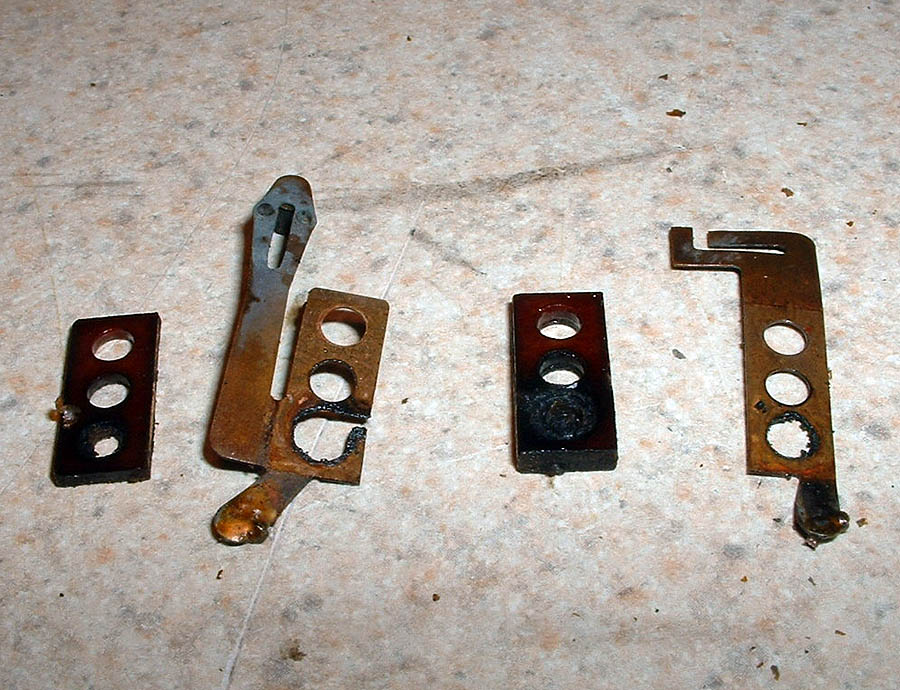
| The ball-lock track assembly had some of the worst rust damage from a functional standpoint. Tolerances are tight in this assembly - and with damage to both the balls and to the raceway they run in... well they wouldn't - even after being treated and wire-wheeled. Using a polishing stone mounted in the Dremel - the raceways were honed to both a mirror finish - and to remove just enough material to allow the balls to once again move freely. The hand-tapped holes were also ground flat to eliminate any "warpage" where the two pieces meet. |
 |
| Some of the treated and wire-wheeled pieces after receiving a protective coat of clear latex. The blackened areas are where the most rust was - and is a result of Naval Jelly's reaction. |
 |
| Greenkeys. Well - they're SUPPOSED to be Greenkeys... These present a challenge on several levels - cleaning and polishing the plastic keycaps is a balancing act between getting as much crud off - and doing harm to the plastic by being too agressive. As old as these are - it' likely that there would be damage trying to seperate the keycaps from their shafts - so rust, etc. needs to be dealt with without exposing the keycaps - and doing more harm than good. A a customized variable speed Dremel tool is used to good effect. Various polishing wheels (some cotton, some felt) and a light application of polishing rouge takes care of most key-caps - though a few need some even more agressive care. A miniature wire-wheel takes care of the shafts - while a fibre-bristle brush is useful in cleaning out the key ledgends without "rounding" the edges. |
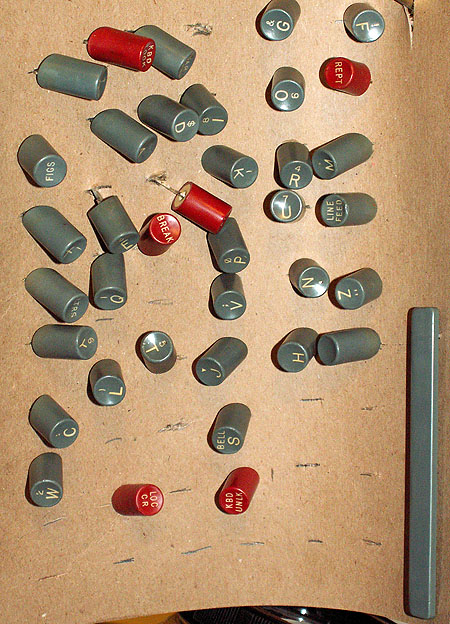  |
| The freshly cleaned and polished keycaps. While this might appear to be a way to "display" them, in reality - they are hanging here drying after their shafts have been sprayed with protective latex. Sticking them through the cardboard allow the metal to be sprayed while protecting the keycaps - and also provides an easy way to "support" them while they dry. |
 |
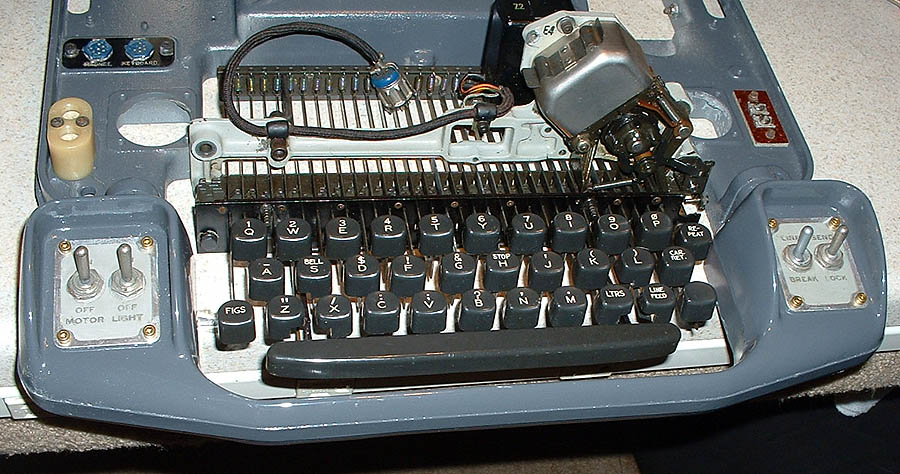
| The keylever/codebar assembly has been completely gone through - adjusted and tested. It and the front gasket are the first items to be re-installed on the chassis. Again - note the "hand-crafted" modifications to the motor mount area can be clearly seen. |
|
|
| So - the latex protective coating will be allowed to dry / cure overnight. The latex coating dries enought to be handled in 3 hours - but it's already late - so tomorrow we'll continue on. In the meantime - what about Riceguy's project - That TT-98? |
 |
| Welll - with Riceguy - if you're waiting on him - you've already missed the train!. Within a couple of days - I get a couple of progress report emails... The keyboard is coming along nicely; |
 |
| And most wiring issues resolved and the local loop supply run and running. But hey - this stuff is 1) roughly 50 years old and 2) been subjected to Mississippi lightning... so one should EXPECT some trouble!!!! |
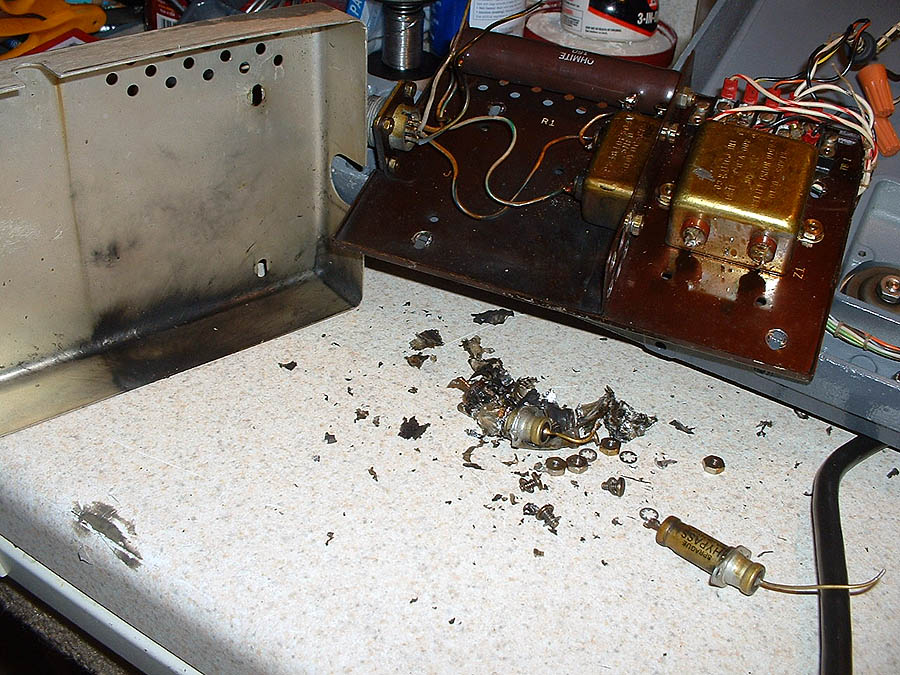 |
| Oooopps! An AC bypass capacitor lets out it's magic smoke - along with a few bits of itself.... (Note to self - camoflaged M-80s work well - make more). Seriously - somthing in this machine isn't happy... |
 |
| After the cap failure - and with the noted wiring "changes" in and around the auto-start / auto-shutoff circuits - Riceguy chased down the original culprit - burried deep in the guts. A switch contact with a carbon trace arcing through making a nasty mess of things - and shorting out part of the circuit. While the M-80 crack was certainly a joke - Mississippi lightning is no laughing matter - as summer thunderstorms cause a tremendous amount of damage. When this part failed - many, many years ago - someone just "bypassed" the circuit - and left it at that. I'm not sure who was doing the FAA's maintenance - but I hope this was a momentary lapse of quality on an old piece of gear already scheduled for replacement - and not an example of "business as usual" at the FAA.... |
|
|
| Site contents copyright © 2008 Randy Guttery |
|
|